Saturday, September 11, 2010

A gift for you, in a gift card holder of course.

Beatriz Jennings is back with two more super cute projects for AllyScraps! A sweet card and an adorable gift card holder, what a great gift presentation. :)


Card instructions:
1-Make card from cardstock and cover with paper only on the top of card, tie ribbon around.
2- Cover bottom part with blue paper and adhere vintage image.
3- Stitch card and add lace and chipboard, add buttons and velvet flower, apply rub ons.


Gift card Holder instructions:
1- Cover bottom part of envelope with patterned paper, add lace.
2- Cut vintage image and adhere on the left side, apply rub ons.
3- Add a vintage button and make a bow with twill tape, adhere to envelope.


Supplies:
Advantus Girls Paperie - Paper Girl Collection - Vintage Patchwork
Crafty Secrets Heartwarming Vintage Creative Scraps - Birds & Blossoms
Fancy Pants Designs Road Show Collection 12x12 Double Sided Paper - Strips
Maya Road Kraft Envelopes - Decorative
Maya Road Velvet Pleats - Pink & Green
Melissa Frances Inspiration Transfer

Thanks so much Beatriz! It's been such a pleasure to have you at AllyScraps, and we're definitely planning to have you back soon. Enjoy your weekend. :) Dana

Thursday, September 9, 2010

Cathy's pumpkin album!

Cathy (the owner of AllyScraps) made a pumpkin album!! It's so darn cute, and ready just in time to place your pumpkin farm or other fall photos in! Hope you'll make one too.


Instructions
1. Paint front and back outside cover with ivory acrylic paint.
2. Cover all pages with patterned paper.
3. Distress and ink edges of all pages.
4. Cover front page stem with white craft glue, and wrap with twine.
5. Add photo mats and photos.
6. Decorate with stamps, sentiments, flowers, buttons, trim, ribbon, etc.


Supplies
Cosmo Cricket - Nutmeg collection
Maya Road - Chipboard pumpkin album
Maya Road trinket pins
Maya Road envelopes
Maya Road flowers


Thanks so much for taking a look, and thanks to Cathy for her awesome album. Check back this weekend for another awesome project from Beatriz Jennings and for an awesome mini book made our other (secret) September guest designer. :) Dana

Tuesday, September 7, 2010

A big AllyScraps welcome to Roree Rumph!

We are so please and happy to welcome Roree Rumph as a first time guest designer at AllyScraps!! I'm sure you'll agree, her projects are wonderful! so whimsical and inspiring. I'll let her introduce herself...


"My name is Roree Rumph. I live in Daphne, AL with my husband David, my two daughters, Grace and Harper. I have been paper crafting for some time now, and it has become such a huge part of my life. I love making cards and altering things, and on occasion I scrapbook too. I love using a mix of colors and patterns; flowers and buttons are some of my favorite embellishments, and I one of my favorite tools is my sewing machine. I am currently designing for Pink Paislee and Color Combos Galore (color challenge blog). My work has been published in magazines such as Cards, Scrapbook Trends, Simply Handmade, and Paper Crafts. When I am not crafting, you can usually find me hanging out with my family, playing on the computer, shopping for supplies, reading a magazine, or sipping on a white chocolate mocha from Starbucks.
I am so excited to be a guest designing for AllyScraps this month, and I only hope that my work will help inspire you to be as creative as you can be."


Instructions
1.Cut the graph paper to 11 x 8 ½”. Distress the edges with a file.
2.Punch eighteen 1” circles from the light blue patterned paper with a circle punch. Distress the edges with a file, and adhere the circles about 5/8” from the top of the page and 1 ¼” from the bottom of the page. Trim the excess.
3.Cut two ¼” strips from the stripe patterned paper, distress the edges with a file, and adhere them over the punched circles.
4.Cut the pink patterned paper to 8 x 8 ½”, distress the edges with a file, and adhere the panel to the layout.
5.Cover five chipboard pendants with polka dot patterned paper. Adhere a ¾ x 1 ¼” strip from the number patterned paper to the center of each pendant. Thread the pendants with green ribbon, knot and trim the ends, and adhere the banner to the top of the layout. Add the letter stickers to the pendants for the title.
6.Adhere a 4 x 6” photo to the layout. Attach the cardstock sticker to the photo. Cut out a heart from dark pink patterned paper, and attach it to the layout with a cross stitch using orange embroidery thread.
7.Attach a tab cardstock sticker to a wallet size photo, and adhere it to the layout.
8.Attach the label stickers, and add journaling with a brown fine-tip marker. Attach the asterisk letter stickers to the layout with a French knot using orange embroidery thread.
9.Hand cut four leaves from the green patterned paper, and distress the edges with a file. Hand cut two flowers from the floral patterned paper, distress the edges with a file, and attach an orange button to the center of each using yellow embroidery thread. Layer and adhere the flowers and leaves to the layout.


Supplies
Echo Park Paper Life Is Good Collection - 12x12 Paper - Floral Dress
Echo Park Paper Life Is Good Collection - 12x12 Paper - Simple Stripes
Echo Park Paper Life Is Good Collection - 12x12 Paper - Bold Stripes
Echo Park Paper Life Is Good Collection - 12x12 Paper - Seeing Spots
Echo Park Paper Life Is Good Collection - 12x12 Paper - Set The Table
October Afternoon Thrift Shop Collection 12"X12" double sided paper - The Great Find
October Afternoon Fly A Kite Collection 12"X12" double sided paper - Lemonade
October Afternoon Fly A Kite Collection Word Stickers
October Afternoon Fly A Kite Collection Label Stickers
Maya Road Ribbon - Scallop Dot Ribbon - Green
Maya Road Mini Chipboard - Mixed Scallop Mini Pendant Banner
Jenni Bowlin Collection - Vintage Style Sew -On Buttons - Orange
American Crafts Thickers - Vinyl Stickers - Poolside - Grapefruit

Thanks so much Roree for this awesome layout... I know that I'll be working on one of those adorable titles soon! Check out Roree's blog, for even more inspiration! See you soon! Dana

Saturday, September 4, 2010

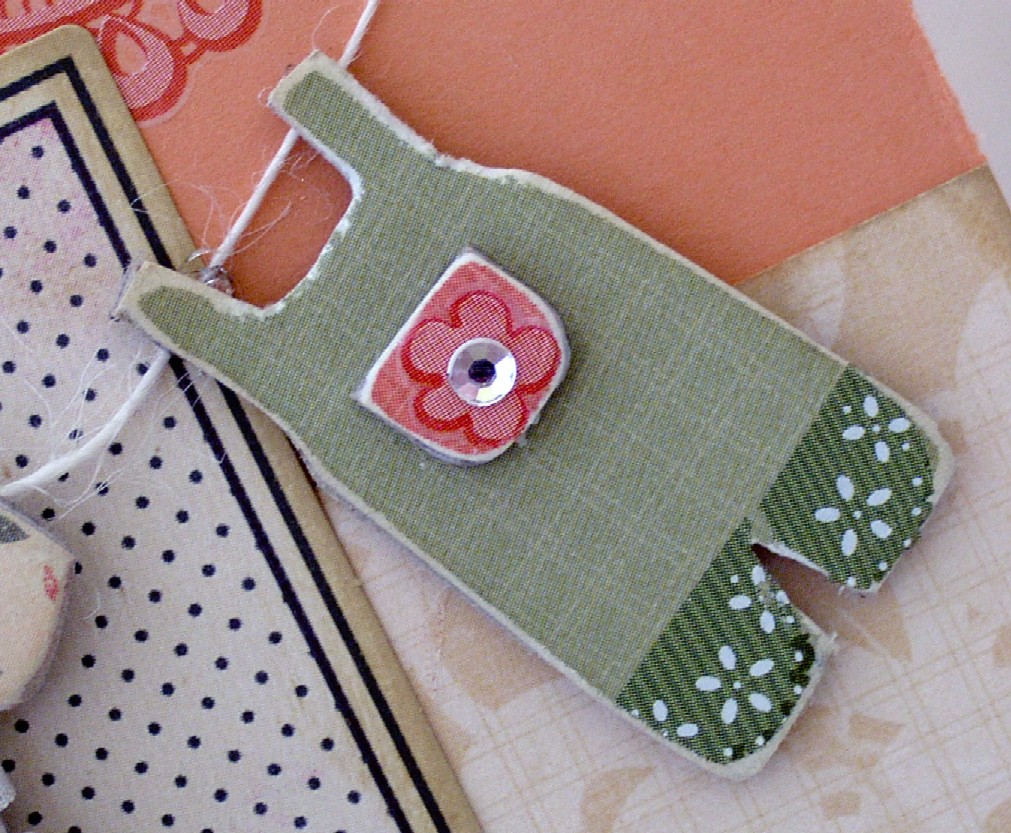
Apron Strings cards by Melissa Phillips

Melissa Phillips has been hard at work again, and I just love the beautiful apron strings cards she came up with.


Instructions
1. Create card bases from coordinating cardstock.
2. For the Apron Strings card, cut strips of patterned paper to fit across lower portion of card.
3. Apply colored rubons across top of card.
4. Attach die cut to center of card and trim off excess from bottom.
5. Cover chipboard pieces with desired patterned paper. Sand edges and ink to distress. Add rubons and rhinestones to embellish.
6. Wrap trim around mother's dress to resemble an apron. Adhere in the back and embellish with a ribbon and small flower.
7. Attach all chipboard pieces on a strand of button twine to resemble a clothesline. Adhere across front of card.
8. Apply rubon in lower left corner to finish and color in rubon heart.
9. For Homemade and Handmade Card, cut strips of paper to fit along left edge and across bottom of card.
10. Paint chipboard scroll frame with off white acrylic paint, sand to distress and adhere near left edge of card.
11. Trim down die cut tag to fit opening of frame and tie with scrunched seam binding of ribbon. Adhere to center of frame. Attach a strip of trim along bottom edge.
12. Cover mother's dress as before and embellish with an apron made out of trim. Adhere to center of tag.
13. Apply rubon to the right of frame and flower rubons. Embellish with rhinestones to finish.


Supplies
Maya Road Laundry Day Mini Chipboard
Maya Road Scroll Frames Chipboard Sheet
Maya Road Vintage White Crochet Trim
Kaiser Craft, Tea at Elsies, Lemon paper
Kaiser Craft, Tea at Elsies, Ceylon paper
Kaiser Craft, Tea at Elsies, Peppermint paper
Kaiser Craft, Tea at Elsies, Colored Rub Ons
Kaiser Craft, Self Adhesive Clear Rhinestones
Advantus Girls' Paperie, Paper Girl Collection, Die Cuts
Melissa Frances Vintage Women Transfers

Thank you so much Melissa for inspiring us every month! :)

Hey, be sure to check out the information for the September Sketch contest. (You guys are BUSY, we already have some entries!) Hope you're having an awesome weekend! Dana

Thursday, September 2, 2010

Enjoy the little things.

Pretty, pretty, pretty, this album by Beatriz Jennings. EVERY single one of the details is perfect, and those little birdies?? amazing. :)


Instructions:
1- Paint all chipboard pages.
2- Cut paper as desired to fit only the front sides of album, sand the corners and distress ink pages.
3- Tie twill tape around the Cover and then tie another bow with seam binding, next adhere a vintage image, add chipboard heart, and rub ons finish with silk flower and button.
4- For the next page adhere silk flowers on the back of vintage image, adhere a piece of twill tape and add image to the page, add flower and rub ons.
5- Next page: adhere a kraft envelope and then a sticker, add rub ons, button and pom pom trim.
6- Next page: Tie ribbon around page, add a piece of lace on the back of vintage image, adhere to page, add chipboard heart, silk flower, button and rub ons.
7- Next page: Add vintage image, chipboard heart, velvet flower and rub ons.
8- Last page: add Kraft envelope, sticker, chipboard heart, silk flower, buttons and rub ons.


Supplies:
Advantus Girls Paperie - Paper Girl Collection - Vintage Patchwork
Crafty Secrets Heartwarming Vintage Creative Scraps - Birds & Blossoms
Fancy Pants Designs Road Show Collection 12x12 Double Sided Paper - Dilly Dally
Fancy Pants Designs Road Show Collection 12x12 Double Sided Paper - Shabby Floral
Fancy Pants Designs Road Show Collection 12x12 Double Sided Paper - Strips
Maya Road Kraft Envelopes - Decorative
Maya Road Velvet Pleats - Pink & Green
Maya Road Wavy Layer Book
Melissa Frances Inspiration Transfer
Melissa Frances Stickers - Airmail

Thanks SO much Beatriz! Beautiful job.

Enjoy your day, and check back soon. ~ Dana