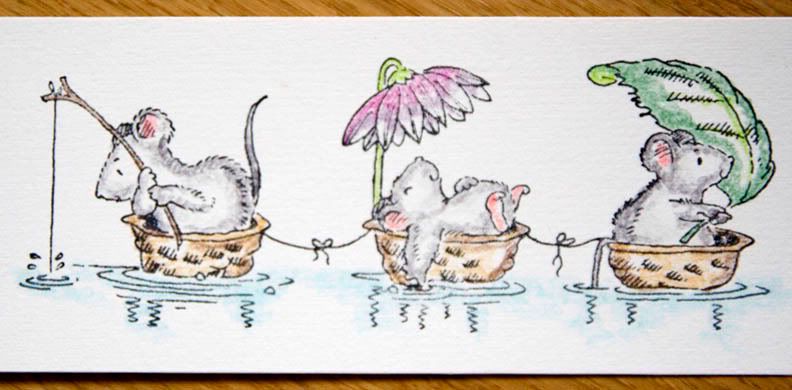
I was asked recently about some watercoloured images I had made and thought it might be fun to do a small 'how to'. Now, I'm no expert but this works for me!
I have just recently discovered watercolouring images and it's like being a kid again! I've used watercolour pencils because they are so simple to use and really doesn't require any expertise.

Stamp you image in a solvent based ink such as Staz-on. Watercolour paper is best but any heavy cardstock paper will do.

I start by going around the edges of my image with my pencil. Use the main colour first, add shadow colours or highlights next. Try to imagine where the highlights and low lights of the image would be for a more realistic effect.
Tip: I use small circular movements to prevent pencil marks later but you'll need to experiment with your pencils.

Now for the fun bit. Dip your paintbrush in the water and draw off any excess - you brush should be very damp rather than soaking wet. You can always add more.

Draw your brush from the edges towards the centre to 'pull' the colour. You may need to make more than one pass to get the effect that you want.

Allow the paper to dry before adding more detail such as rosy cheeks or pink tummys.

To make the card, I used some patterned paper from Depot Park from October Afternoon. Add a decorative edge and secure a ribbon along the bottom.

Voila! A beautiful card in about half an hour!
There are literally hundreds of beautiful stamps and the latest from Hero arts can be found here.
Happy stamping!
Morag x


1 comment:
great tutorial - very easy to follow and your card is adorable!!
Post a Comment